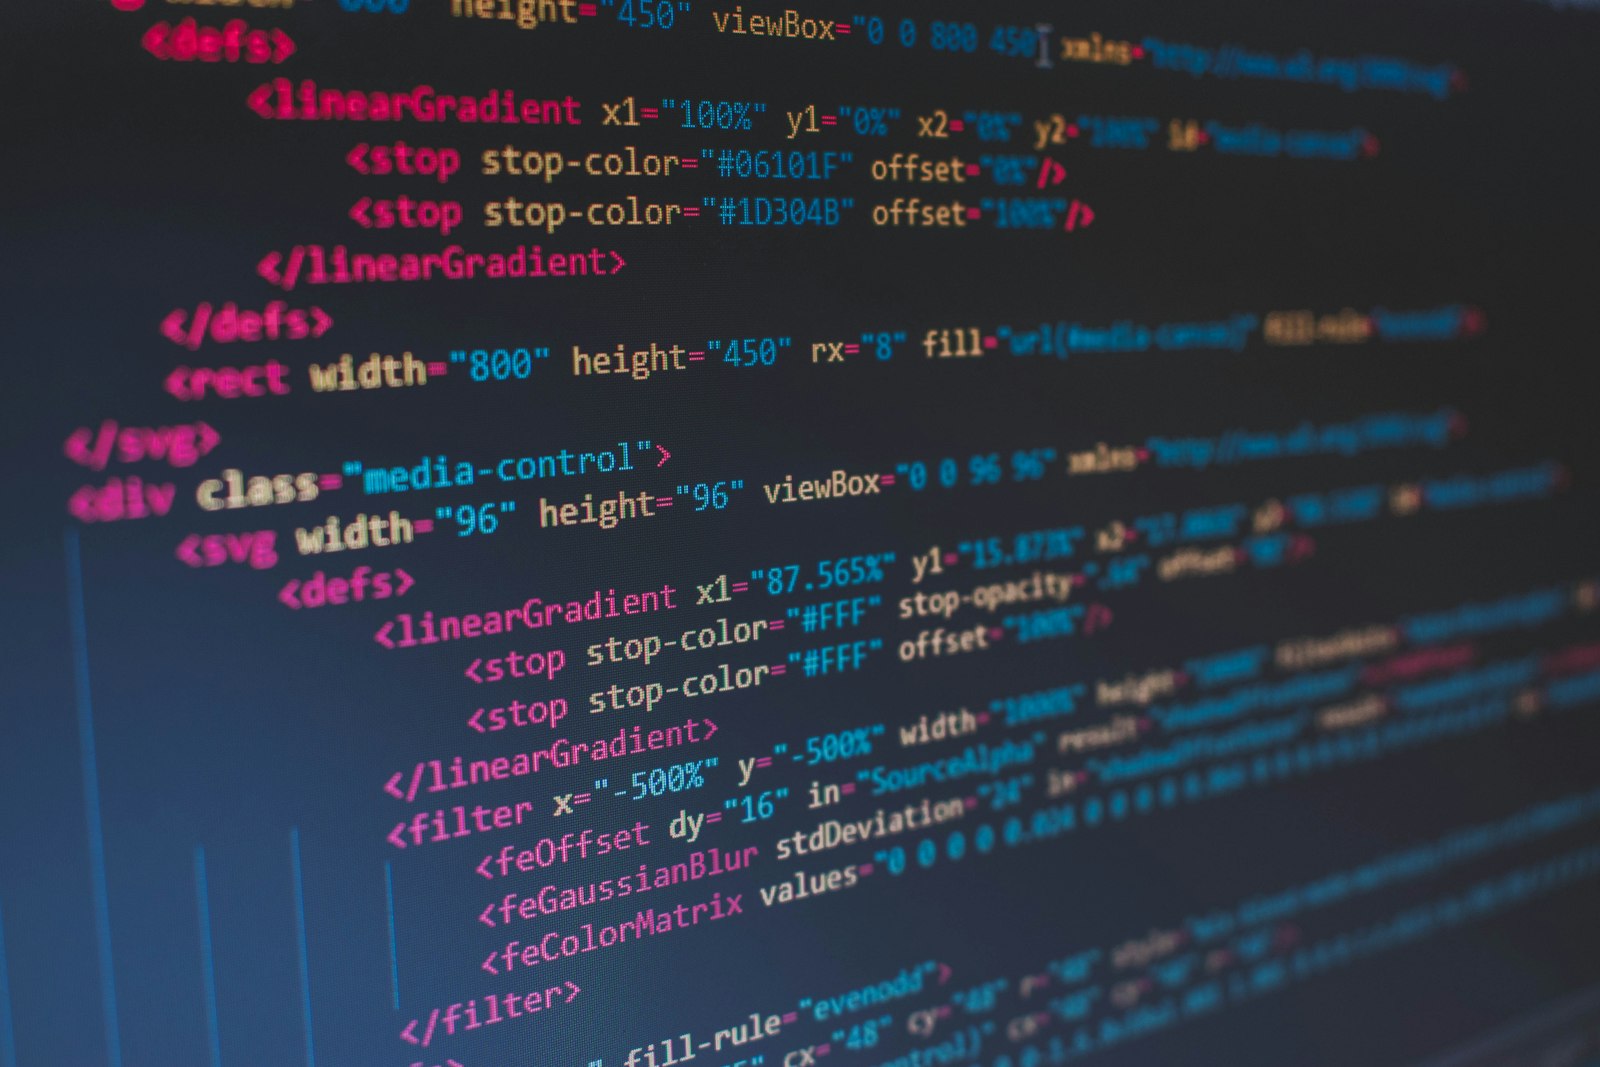
You type "create a credit approval popup, dark mode, with a spring animation" — six seconds later Tweenr hands you a 1080p MP4. What happens in between?
It looks like magic but it's really a four-step pipeline. Here's the breakdown, with the official Remotion docs linked at the end if you want to go deeper.
Step 1: Sentence → Plan
An LLM (we use Claude Sonnet / Haiku) reads your sentence — but it doesn't produce video. First it answers a series of design questions:
- What's this scene's purpose? (Informational alert? Brand reveal? Emotional moment?)
- What elements does it need? (Icons, type, background, animated graphics)
- What's the rhythm? (Snap / smooth / epic — three preset tiers)
- Which visual archetype fits? (Tweenr ships 150 brand-flavoured archetypes — Stripe, Apple, Linear, etc.)
The output isn't a video — it's a structured plan: scene layout, type hierarchy, colour palette, the frame numbers at which each element enters and exits. Anthropic Claude's structured-output mode helps here: it lets you force the LLM to return strict JSON instead of free text.
Step 2: Plan → Code
With the plan in hand, the LLM writes actual React/JSX code — not template fill-ins. The code uses Remotion's animation primitives, e.g.:
const opacity = interpolate(frame, [0, 30], [0, 1])That single line means: from frame 0 to frame 30, opacity goes from 0 to 1 — a 1-second fade-in (at 30fps). Remotion's interpolate() helper is the heart of frame-driven animation, and LLMs are now fluent in writing this kind of expression.
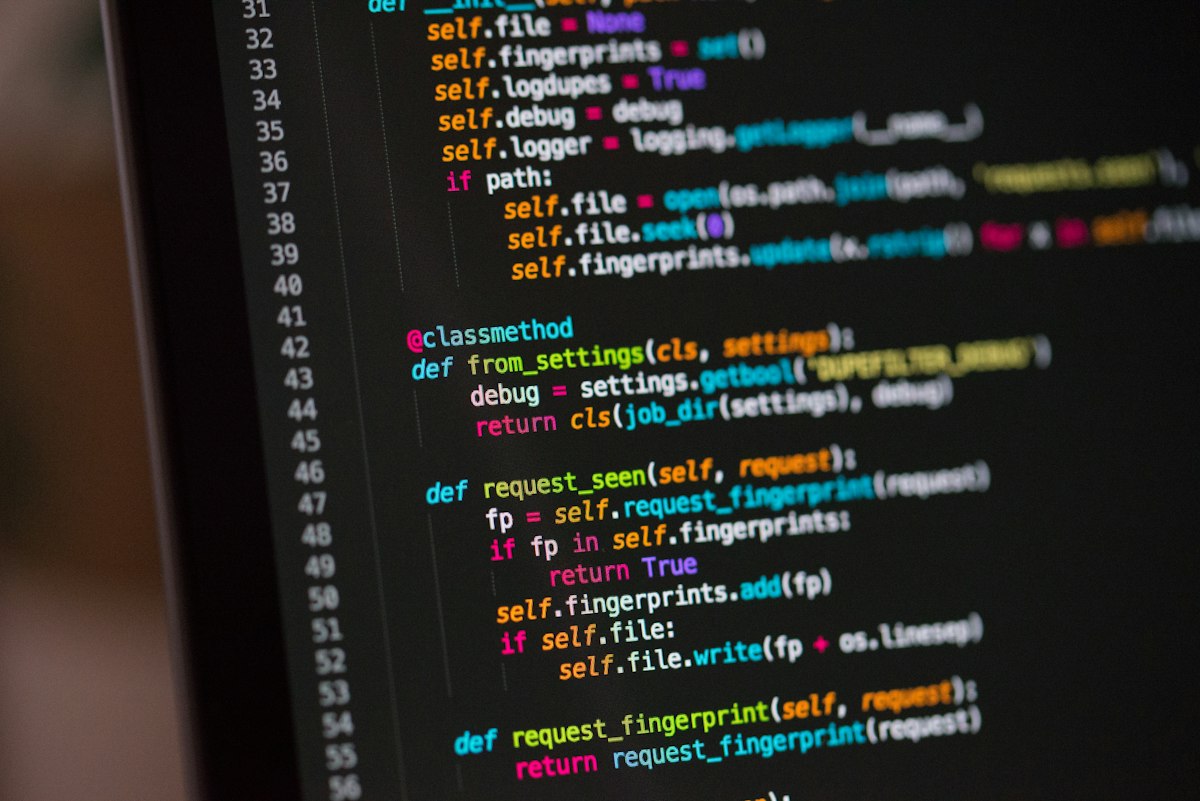
Why code instead of templates? Templates mean "drop your text in, get back the same animation" — 1,000 users get 1,000 identical videos. Code means every render is a fresh composition: new scene structure, new timing, new layout. Infinite variation.
Step 3: Code → Frames
Once the code is written, Remotion transpiles it with @babel/standalone and then runs your React component on AWS Lambda — server-side, 30 times per second, capturing each frame as it goes.
A 30-second ad × 30 fps = 900 PNG frames.
| Step | Input | Output | Typical time (30s scene) |
|---|---|---|---|
| 1. Plan | User prompt | Structured scene plan (JSON) | 3–8s |
| 2. Code | Scene plan | ~200 lines of React/JSX | 10–30s |
| 3. Render | JSX + frame numbers 0–899 | 900 PNG frames | 40–90s (Lambda) |
| 4. Encode | 900 PNG frames | 1 MP4 file | 10–20s |
Step 4: Frames → MP4
The 900 PNGs feed into FFmpeg, get the H.264 codec applied, and out comes a 1080p MP4. End-to-end, 1–2 minutes on a Hong Kong connection.
The hard part isn't any of this
The four-step pipeline — LLM writes code, Remotion renders, FFmpeg encodes — is now commodity infrastructure. Any developer with the same stack can replicate it. Remotion now ships an official LLM system prompt, meaning the whole pipeline is standardised.
That's why we built a library of 150 brand-flavoured style archetypes — the LLM can write any code, but it needs design taste as a guide. More on that in the next post.
Sources
- Generate Remotion Code using LLMs — Remotion official docs.
- interpolate() helper — Remotion API reference.
- Just-in-time compilation of Remotion code — Remotion docs.
- Animating properties — Remotion docs.